| Hardware Install | Sensor Wiring | Software Setup |
Hardware Install
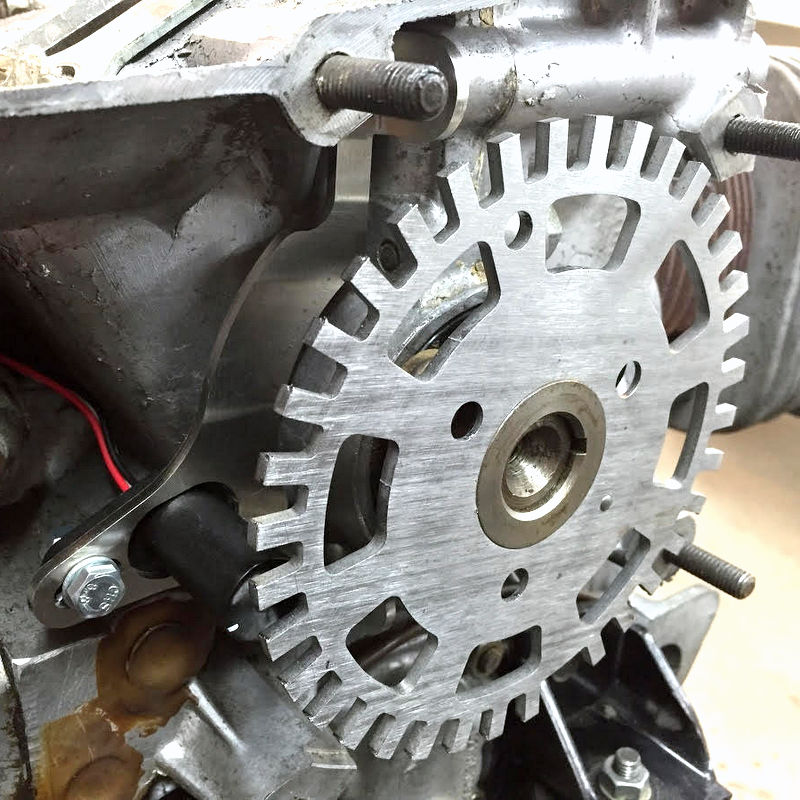
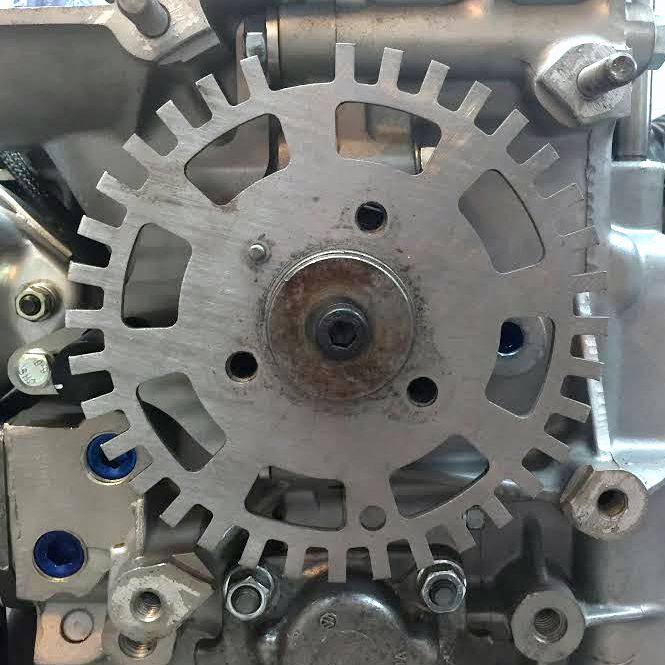
The Type 4 crank trigger wheel gets placed behind the factory cooling fan and replaces the A/C washer. The machined portion of the trigger wheel faces the engine. This pushed the trigger wheel closer to the engine and locates the missing tooth in the correct position related to the crank sensor and bracket.
You will want to move the sensor in the bracket so the tip is centered is into the middle of the trigger wheel teeth. Don't forget to tighten the bolt when done.
To get the sensor gap into spec you will use the adjustment slots built into the sensor bracket where it mounts to the case. We want 2mm or less of clearance. Line up the center of the sensor tip with the center of the teeth on the trigger wheel. You don't want the center of the senor at the outside edge of the trigger wheel. Test that the sensor triggers as it moves over a tooth before reassembly.
Power the sensor with 12v to red and ground the black wire. Ground the negative lead of your multimeter or low current test light and probe the White/Black wire with positive lead. When the sensor is over a tooth the voltage should be under .25 volts, with the sensor in a gap the voltage will be at the supply voltage or 12v.
 |
 |
 |
 |
 |
 |
 |
Sensor Wiring
Standard Sensor Wiring:
Red - 5v or 12v
Black - Sensor Ground
White/Black - Sensor Output
Software Setup
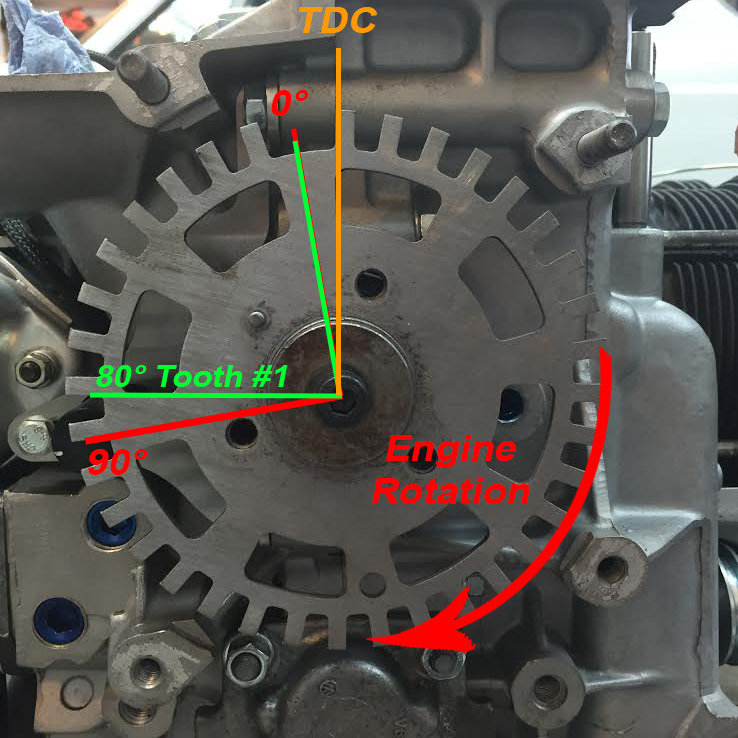
For Megasquirt 2/3 installations use these base ignition settings:
#1 Tooth Angle 80°
Falling Edge
6/1/2020 Update: New trigger wheels have been updated with 2 installation positions.
Position "0" is for standard installs with a 80° #1 tooth angle (Megasquirt, OMEX, AEM, Haltech, etc,.)
Position "1" is for use with CB Performance products that use a 70° #1 tooth angle
Sensor Gap:
2mm or less
Once the installation is complete you will want to verify timing with a timing light. If the computer readout does not match the timing light adjust the #1 tooth angle to get the two to match. This is very important.
Big thanks to Barefoot Garage Jax for the installation video below!